
| Materials | Tools | |
|
|

DryPak® Concrete is a 25 MPa, well-proportioned mix of blended cement, 10mm crushed stone and sand. It is suitable for all general concrete applications such as garden paths, concrete pavers, patios, light foundations and post holes. It requires only the addition of clean water followed by mixing prior to use.
Please see below for our step-by-step guide for concreting; alternatively you can download our printable copy here:
![]()
-
1
Setting Up
Use the string to mark out the borders of your path.
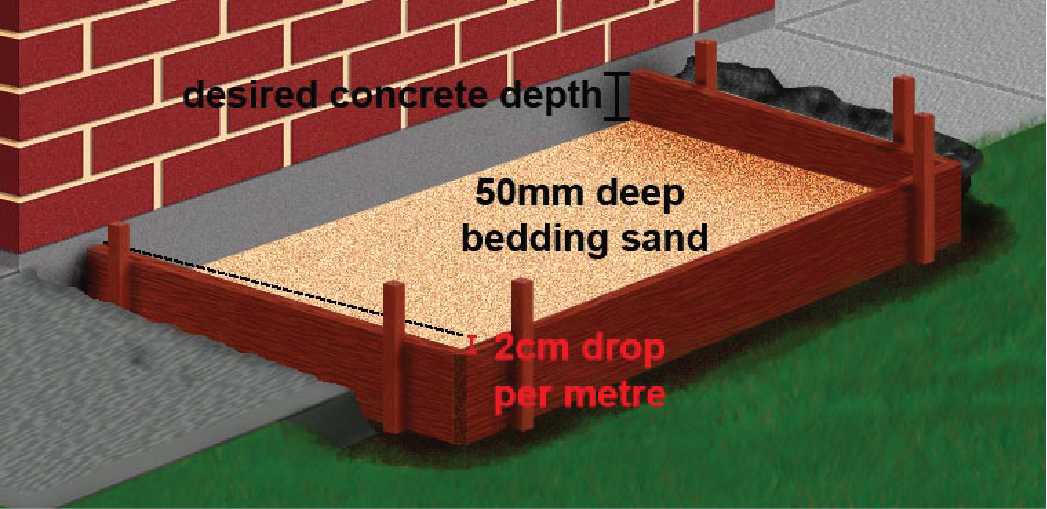
Dig out the area to a depth of approximately 150 mm.
When excavating the area, it is important to form a slight slope away from buildings to allow the water run-off (allow a 20 mm drop for every metre).
Place a layer of bedding sand about 50 mm deep into the excavated area.
Using the timber planks and wooden stakes, box up the excavated area to the desired height of the path.
If the area is subject to high traffic or heavy loads, reinforcing mesh may be required.
Lightly spray the area to stop the concrete from losing moisture.
-
2
Mixing the Concrete
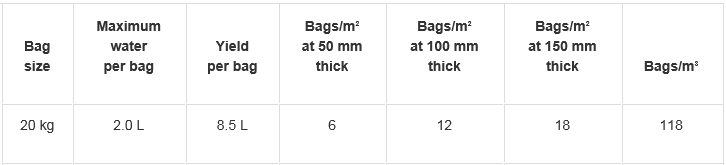
Empty the bag of DryPak® General Purpose Concrete into a wheelbarrow.
Using the bucket, gradually add water (as per table below) and mix thoroughly.
DO NOT add too much water – this will weaken the concrete.
-
3
Placing the Concrete
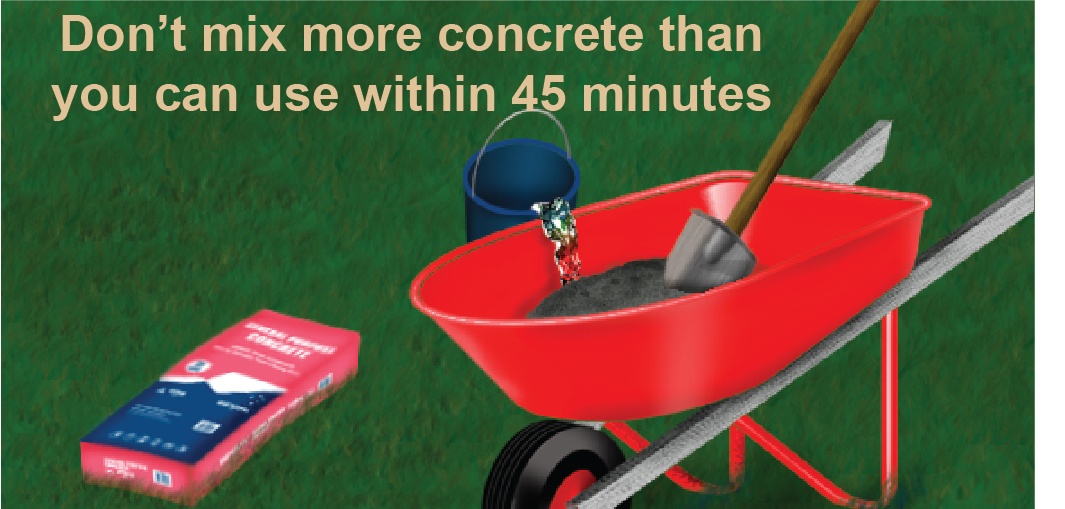
All concrete must be placed within 45 minutes of mixing.
Using a shovel, place the concrete into the boxed area, slightly overfilling.
Try to spread out the concrete as you go, lightly packing down the concrete with the shovel.
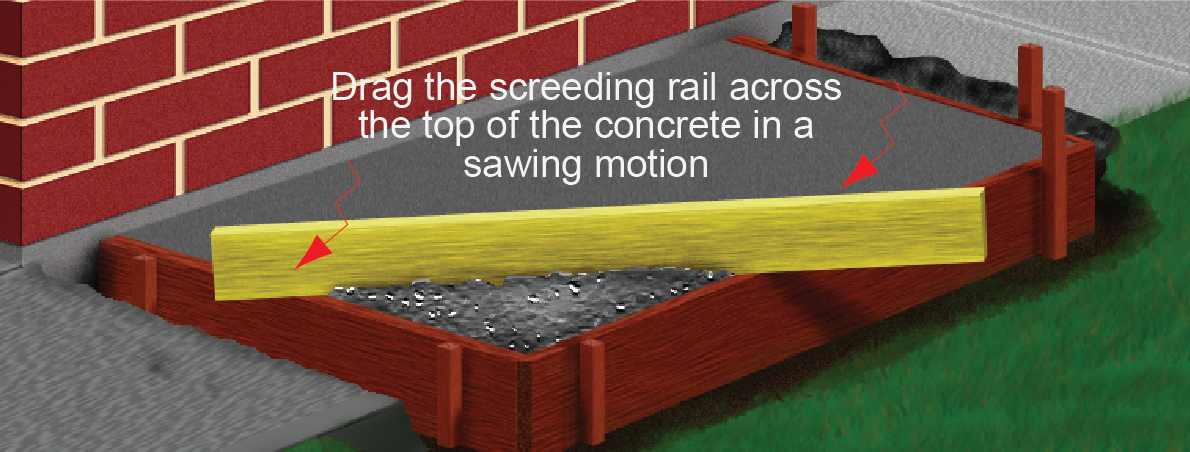
Once the area is filled, use the screeding rail (or heavy wooden plank) to screed the concrete. Screeding is done by dragging a rail or plank across the surface of the concrete in a sawing motion to ensure a level surface is achieved.
-
4
Finishing the Concrete
Once the concrete has been levelled, joints may need to be inserted to prevent cracking. Joints should be used for pathways and slabs larger than 4 m x 4 m.
For a path, use the jointing tool to cut across the surface to a depth of 1/3 the thickness of the concrete, at intervals 1.5 times the width of the path.
If needed, run the grooving tool over each joint to give it a smooth finish.
Leave the concrete for 30 minutes, or until the surface water has disappeared, before you finish your concrete.
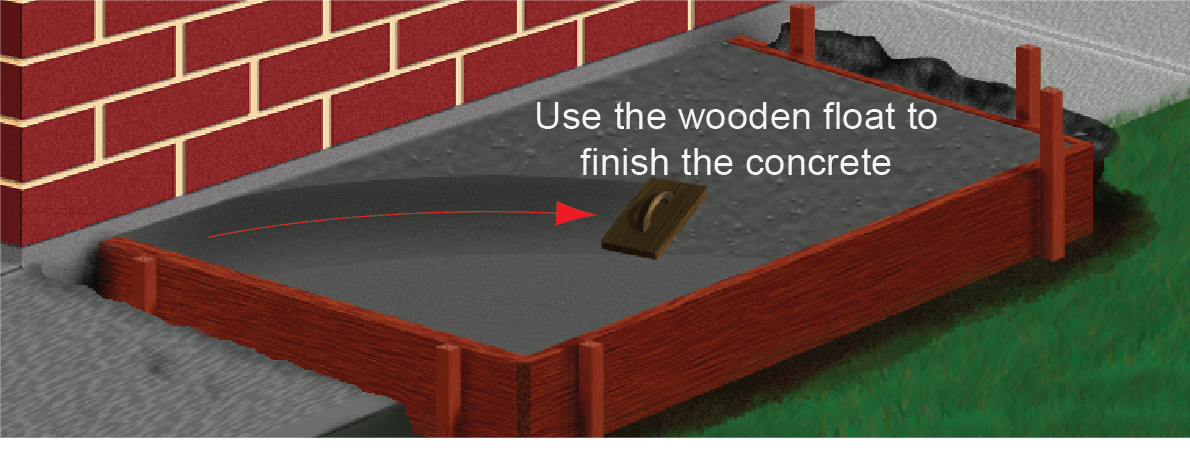
Rub the wooden float over the surface to finish the concrete.
You can now create one of the following textures for your slab:
– Smooth – use a steel trowel to obtain a shiny finish.
– Rough – gently drag a stiff bristled broom across the slab.Run the edging tool around the edges of the concrete to prevent chipping.
-
5
Curing the Concrete
It is important to cure your concrete to obtain maximum strength.
Curing is NOT setting. Setting is the concrete going hard. Curing is the concrete reaching its optimum strength.
Cure your concrete for no less than a week before using it.
Curing can be done using one of the following methods:
- Cover the concrete with a plastic sheet.
- Continually moisten the concrete with a fine mist spray.
- Cover the concrete with wet hessian.